Moving Into Student Accommodation: Checklists, Tips & Essentials

Moving into your first student home is a big step. It’s exciting, stressful, and full of small details that can make a huge difference to your experience. From protecting your deposit to setting up utilities, the first few days are about more than just unpacking your things. If you get the move-in process right, you’ll save yourself money, stress, and arguments later in the year.
This guide takes you through each stage of moving in, step by step.
1. Prepare Before You Arrive
The days before you move in set the tone for your entire experience. Many students underestimate how much smoother life is when you plan ahead. A bit of preparation ensures you’re not left scrambling for essentials, trying to figure out paperwork, or paying more than you need for transport. Think of this as your pre-move checklist: the boring but necessary stuff that makes day one much easier.
- Pack smartly: Instead of throwing everything into random boxes, pack by category.
- Keep a “first night bag”: Bedding, toiletries, chargers, snacks—so you don’t have to unpack everything at once.
- Bring documents: Tenancy agreement, deposit protection details, guarantor information, ID, and student paperwork.
- Arrange transport: Student move-in weekends are busy; book vans, cars, or trains in advance.
- Buy essentials in advance: Laundry basket, extension leads, kitchen basics, and cleaning supplies often get overlooked.
For a comprehensive packing checklist, check out UCAS' 'What to Take to University' list or see Confused.com’s ‘Ultimate Student Moving Checklist’—bonus tips on contents insurance.
2. Condition Check: Protect Your Deposit
Your deposit is usually one of the biggest upfront costs of student life, and losing it unnecessarily is a common complaint. The move-in inspection is your best defence against unfair deductions at the end of your tenancy. Landlords and agents sometimes rely on students skipping this step, which makes it easier for them to blame you for pre-existing damage. Treat your inspection like evidence-gathering—it’s worth the effort.
- Take photos and videos of every room, no matter how small the issue seems.
- Compare with the inventory and make notes about missing or damaged items.
- Email your landlord or agent with your findings, so there’s an official record.
- Keep your own copy in a secure folder for when you move out.
Refer to Tenant-Rights.uk’s guide for legal information on inventory, notices, and deposit handling—especially useful for students in England. The Tenancy Deposit Scheme’s PDF offers in-depth rules and dispute process details aimed specifically at students.

3. Safety First
Once you’ve got the keys, your first instinct may be to decorate or unpack. But before anything else, take time to check safety basics. Student housing can vary widely in quality, and not every property is properly maintained. By testing alarms, checking locks, and knowing where emergency controls are, you’ll have peace of mind—and you’ll know what to do if something goes wrong.
- Test smoke and carbon monoxide alarms as soon as you move in.
- Check windows and doors for secure locks.
- Locate the fuse box, water stopcock, and fire exits in case of emergencies.
- Make sure shared hallways and stairwells are well lit and hazard-free.
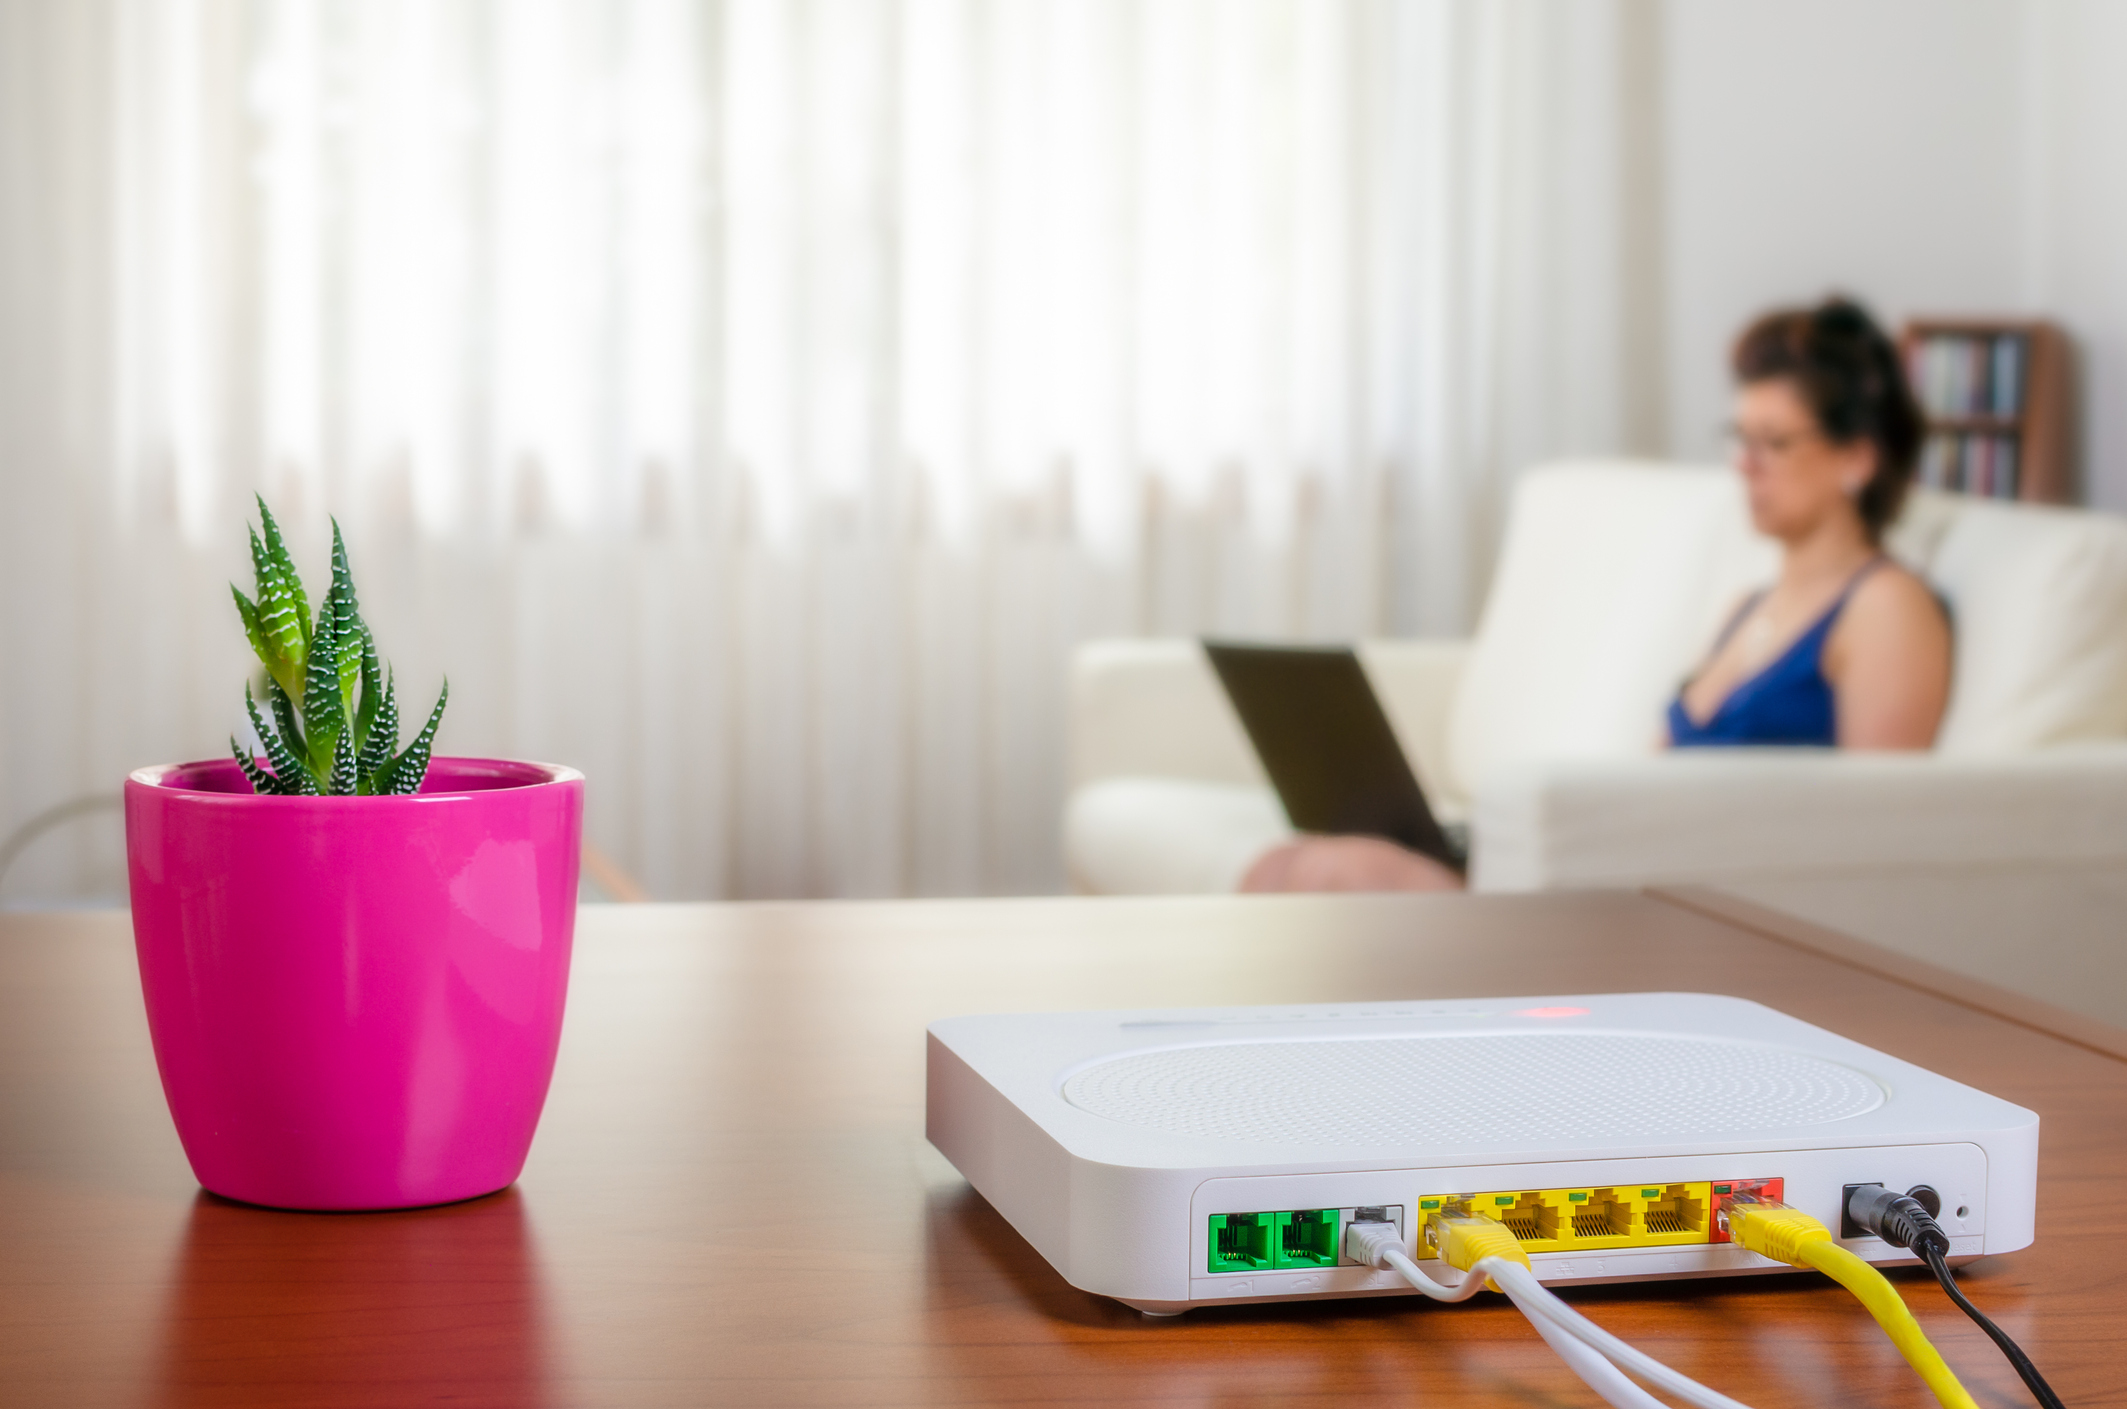
4. Utilities and Bills
One of the easiest ways to get stung as a student is by not sorting bills straight away. If you don’t take meter readings on day one, you could end up paying for the previous tenant’s usage. Similarly, leaving Wi-Fi to the last minute might mean waiting weeks to get online. Getting utilities sorted early gives you a clean slate for your bills and helps prevent disputes between housemates later.
- Record all meter readings with dated photos.
- Submit readings to your providers immediately.
- Arrange Wi-Fi as early as possible—book installation if needed.
- Agree how bills will be split with housemates, either directly or through a service.
- Register with your council for student council tax exemption if applicable.
5. Settling In Smoothly
Once the essentials are done, it’s time to make your space feel like home. The first week is when habits and house dynamics get established. If you unpack, connect with your housemates, and set expectations early, you’ll create a much more relaxed atmosphere for the rest of the year. Think of this stage as laying the foundations for both your living space and your social life.
- Unpack strategically: Start with your bedroom, then tackle shared spaces.
- Sit down with housemates to agree on cleaning, bills, and boundaries.
- Add personal touches like posters, rugs, or plants (without damaging walls). For small touches that make a big difference - see The Times’ ‘25 Essential Homeware Items for Student Life’
- Get to know the area—find local shops, your GP, bus routes, and shortcuts to campus.
The Unipol ‘Smooth Moves’ guide has practical tips for students on moving in and out, including advice on notifying parties of your new address, managing visits by contractors, and maintaining good neighbour relations.
6. Reporting Issues
It’s not unusual to find problems once you’ve moved in—maybe a radiator doesn’t work, there’s mould behind furniture, or an appliance is faulty. The key is to report everything quickly and in writing. Landlords and agents are responsible for keeping properties safe and liveable, but unless you notify them formally, they can claim they didn’t know about the issue. Keeping a clear paper trail also helps if you ever need to raise a dispute.
- Email your landlord or agent—don’t rely on texts or calls.
- Attach photos to show the issue clearly.
- Keep copies of all correspondence in case you need proof later.
- Know your rights: landlords must carry out essential repairs within reasonable timeframes.
7. The Student Move-In Checklist
By the time you’ve finished all these steps, your new student home should be safe, comfortable, and ready for you to enjoy. To make things even easier, here’s a one-page checklist you can tick off on move-in day:
✔️ Inventory checked and updated
✔️ Photos/videos taken of every room
✔️ Meter readings recorded and submitted
✔️ Smoke alarms and locks tested
✔️ Utilities and internet sorted
✔️ Issues reported in writing
✔️ Essentials unpacked
✔️ Housemate agreements made
Final Word
Moving in isn’t just a formality—it’s the foundation of your tenancy. The first day is your chance to protect your money, set up a safe living environment, and start building a home you’ll enjoy. Take your time, be thorough, and don’t be afraid to hold your landlord accountable. Once the practicalities are sorted, you can focus on what really matters: making memories, building friendships, and enjoying student life.